I’ve been wanting to make a greenhouse.
“Why don’t you sew it?” said Martin.
“I’m not that good of a seamstress,” I said.
“I think you are,” he said.
I wasn’t about to argue with Martin about my sewing abilities, because the best thing anyone can say to me when I tell them I want to do something is that they think I can do it.
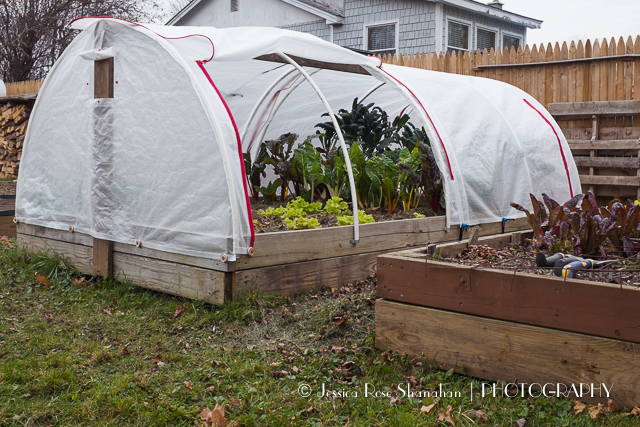
inside my new hoop-greenhouse

Initially, I was going to make the cover out of vinyl. My plan involved covers for the hoop ends and bungee-cords holding vinyl tarps down over the top. I made a pattern, sewed the hoop end pieces, started cutting out the middle bits, then ran out of vinyl. After some research, I realized that it was a poor choice of material anyhow. Vinyl reacts with PVC in UV light, causing almost instant deterioration unless the pipes are primed. Then the vinyl lasts a bit longer, but only if one buys better quality vinyl than I had. I did more research and decided to use a translucent rip-stop nylon. I also realized my bungee idea wasn’t going to work well at all. I decided to use zippers for the closures.
I called Mom. “I’m going to sew a hoop-greenhouse. I’m going to put zippers on the curved ends and one zipper in the middle of the long side for access. Do you have any advice?”
She thought a few seconds. “I wouldn’t put a zipper on a curve,” she said.
It was good advice, seeing as I knew nothing about installing zippers. It was the only advice I had before beginning.
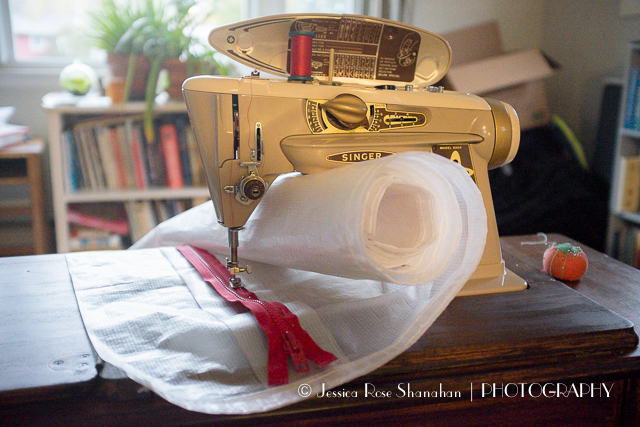
I did a bit of calculating, then I ordered six three-foot zippers and a piece of 12-foot by 15-foot translucent ripstop nylon. I used a #100 needle and UV resistant upholstery thread on my machine. The bobbin has to be loose and the top thread tension has to be as tight as possible in order for the stitch to work at all. The only stitch that works while sewing this fabric is a straight stitch: it is impossible to get the bobbin thread pulled tight enough to do a zig-zag because the nature of the fabric does not allow the bobbin thread to pass through it. Be sure to do lots of test stitching through various thickness of fabric.
Before I go on giving you my (rather vague) step-by-step instructions and measurements and calculations and photographs with lines and arrows and words on the back of each one, I will just let you know that 12-feet by 15-feet is significantly larger than our living room— the room where I sewed my House.
1) ASSESS YOUR RAISED BED & SKETCH SOME PLANS
The size of my beds was determined by the size of the available lumber. The size of my hoop structure was determined by standard pipe lengths. There is lots of advice for building beds available on-line. The only thing I will note is, if you have not yet built your beds, you will want to orient the long side in an east-west orientation for better insolation. We did not do this.
plans
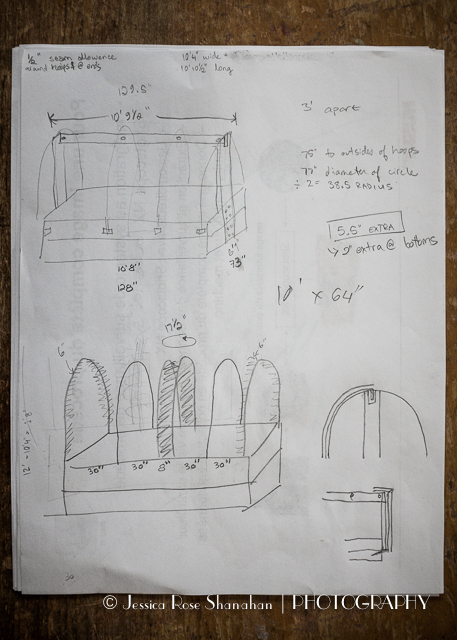
2) BUILD YOUR HOOP STRUCTURE
PVC Pipes come in 10-foot lengths. We used six of them. The ends of the pipes are attached to the beds with heavy-duty pipe straps. The width of the bed determines the height of the hoop. We re-inforced the hoops with a wood frame. The hoops go through the wood on top. We used 1x6s and 2x4s because that’s what we had on hand. There are two hoops close together in the center to support the center opening. There is a slot between these two hoops to allow fabric to pass through (step 6).
hoop structure on the raised bed
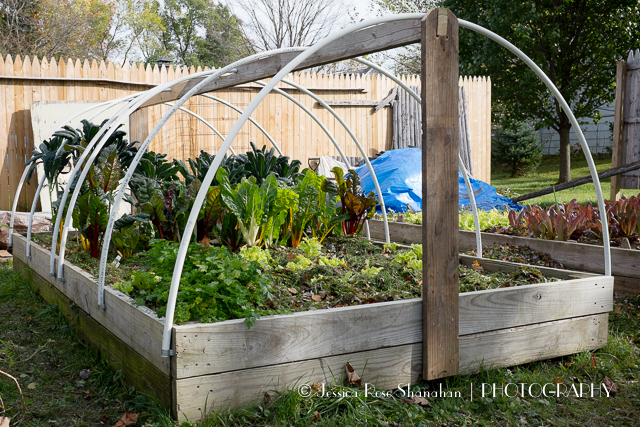
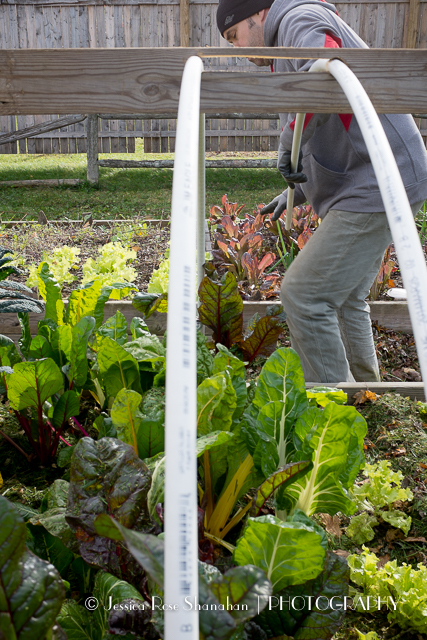
center slot detail
3) DESIGN YOUR PATTERN, CALCULATE THE AMOUNT OF FABRIC NEEDED, THEN ORDER SUPPLIES
I don’t have any photos for this: we went out with headlamps after dark to trace the contour of the end hoop. To do this, we clamped a large piece of vinyl to the pipe and traced around the outside with a marker. An old mattress bag would work well for pattern material, as would an old sheet or tarp. Trace or extrapolate to the end of the hoops, not just to the top of the raised bed. Add two inches to the bottom of the pattern for the hem.
Measure the circumference around the two center hoops then add seam allowance. My oval was 17 & ½” around. I added 1″ for seam allowance and cut the length to exactly 10 feet. The sleeve extends to the top of the bed, not to end of the pipes.
Measure the wood frame across the top of the hoop house. Add ½” seam allowance for sewing it to it to the hoop ends. I will call this Length A.
My pipes are ten feet. Unfortunately, I did not measure the length of the outside arc formed by the 10-foot pipe; I just assumed it was ten feet. This is the cause of the sloppy corner illustrated in step 11. If I was supposed to have assumed the length of the inside arc, I would have, without thinking, assumed that it was ten feet, too, even though they are obviously different lengths. So, measure the pipe from end to end, over the top of the arc. Add 2-inches on either side where it hangs down to the raised bed for the hem. I will call this Length B.
The size of the main body piece is Length A x Length B.
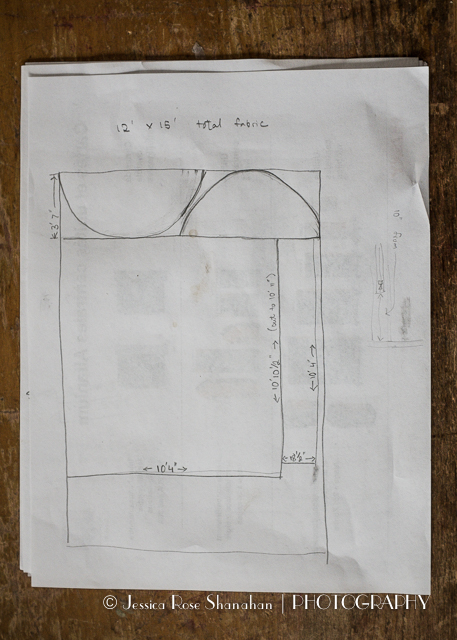
Sketch yourself some pattern-layouts. My hoop-ends can lie one next to the other on a 12-foot-wide piece of fabric, so I chose to order a 12-foot width. The place where I ordered my fabric, Grower’s Supply, sells the fabric any length in various widths from two feet up to twelve feet. I ordered quite a bit of extra fabric, it turns out, as I was afraid of not having enough.
pattern layout
I ordered YKK #10 Molded Extra-Heavy Separating 36″ Zippers from zipperstop. They were the most economical.
The House has grommets around the bottom for attaching it to the raised bed. I used Dritz Grommets purchased at Jo-Ann Fabrics because it was convenient. Possibly I should have used something of better quality.
4) CUT OUT YOUR PATTERN PIECES.
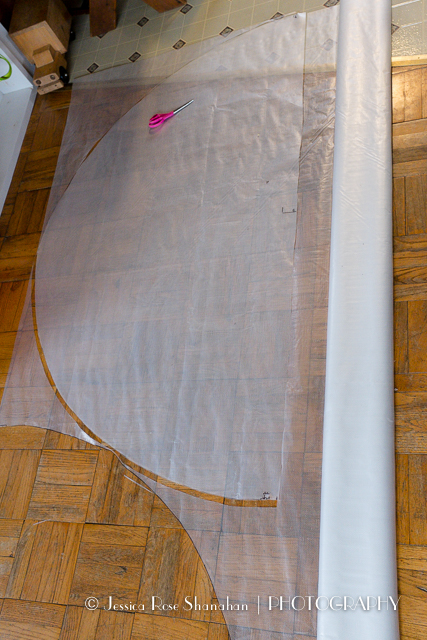
Easier said than done. As I mentioned, the fabric was much larger than my living room. First I unrolled a few feet and cut the end caps. Then it was a process of unrolling one end and rolling up the other while marking measurements. I rolled and unrolled this fabric many, many times in different directions before the cover was complete.
cutting the end pieces
5) SEW THE SLEEVE FOR THE CENTER HOOPS
This sleeve provides support for the structure when the center zipper is opened. It also allows the center zipper to be more than three feet up from the bottom of the cover, for better access, as the sleeve provides a barrier where air would otherwise get in below the zipper. The sleeve is not intimidating to sew, and thus a good place to start. To sew, first make a small hem on the bottoms. Sew the length with ¼” seam, fold over, then sew another ¼” seam. To install it, remove the two center pipes, put them through the sleeve, then slide the pipes back into the frame.
installing the sleeve over the center hoops
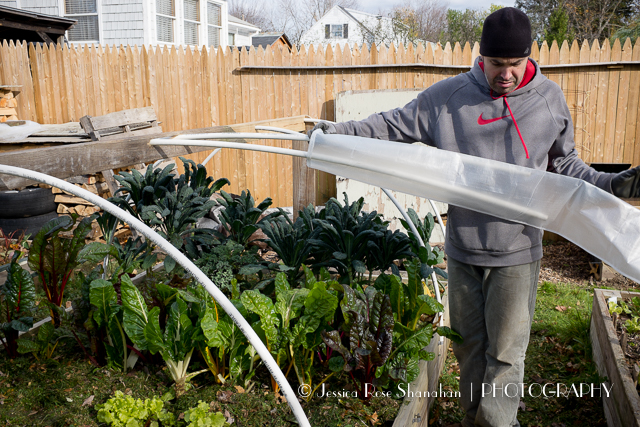
large boot stomping on seedlings
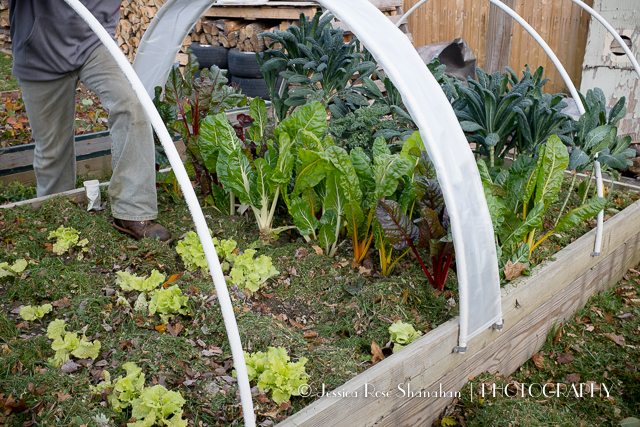
Be aware that if your helper is a non-gardener, their foot will have excess gravitational attraction to the most delicate aspect of your garden. If your helper is a gardener, he or she will step on the mulch.
6) HEM THE BOTTOMS
Hem the bottom of the large, main body piece and of the hoop-ends. I folded up an inch, pinned, folded another inch, re-pinned, and had a hem sturdy enough through which to install grommets.
hem & grommet
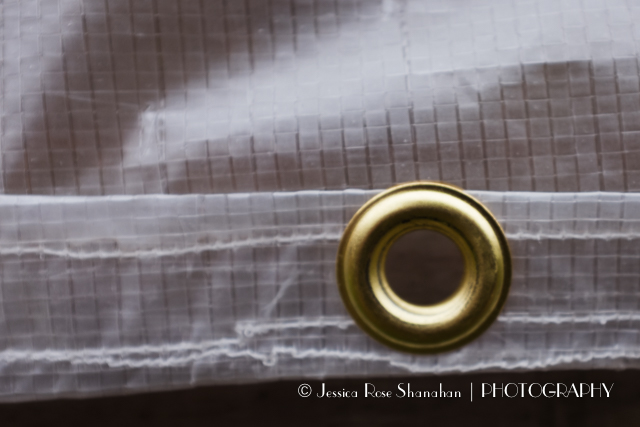
…the first hem was a bit more untidy than the others because I hadn’t perfected my process yet.
7) MEASURE & INSTALL THE ZIPPERS
If you are experienced at installing zippers, please forget everything you know before reading my instructions.
placement: Place a zipper 6″ from each end and one zipper in the center. Mark the placements with a marker. The end zippers abut the hem. The center zipper is located 10″ above the hem, for greater access.
reinforcement: Cut a strip of reinforcement plastic 2″ wider and about 6″ longer than the zippers, plus the extra 10″ length for the center zippers.
attachment: Starting with the easiest zipper on one of the ends, pin one zipper in place on the surface of the “right” side of the plastic. Fold the excess reinforcement plastic in half, then in half again to protect the top of the zipper and keep you from unzipping it all the way. Pin. Using the same sewing foot you’ve been using, begin towards the center of the fabric and sew a straight stitch to the hem. Sew a second row of stitching about ¼” away from this row, at the very edge of the zipper’s fabric. Reinforce the hem. Sew the edges of the reinforcement plastic to the main body. Repeat on the other side of the sipper.
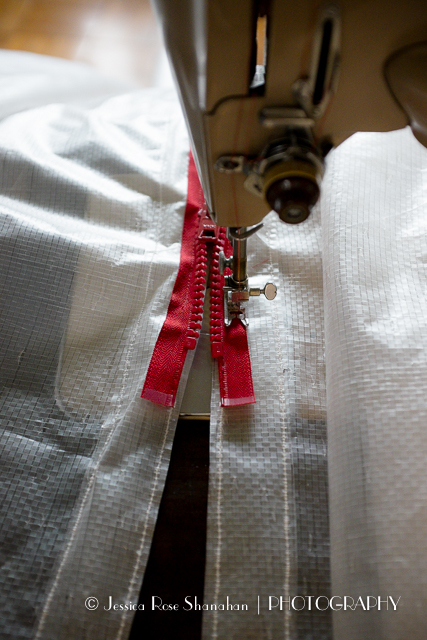
opening: Turn to the wrong side of the fabric, take your seam ripper, and rip up the length of the zipper. Remove all the plastic between the innermost two rows of stitching on your zipper. If you’ve used your machine’s zipper foot, the seam will be too close to the zipper for you to remove enough plastic, and the zipper pull will get caught, and you will have to use your seam ripper to remove all your stitches, and it will be annoying.
Repeat five times. Roll, unroll. Roll, unroll. Roll, unroll. Roll, unroll. Roll, unroll…
placing the center zipper
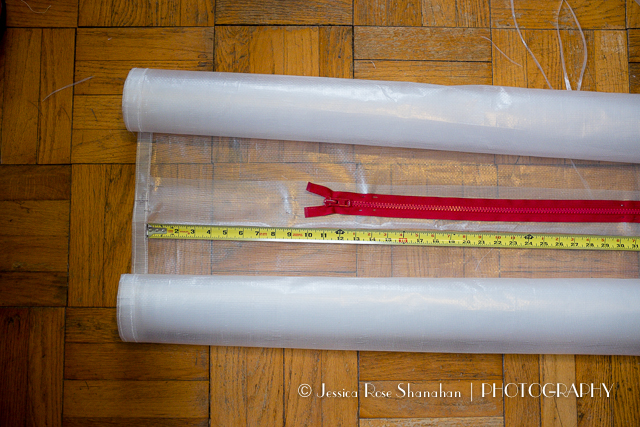
detail at the top of the zipper
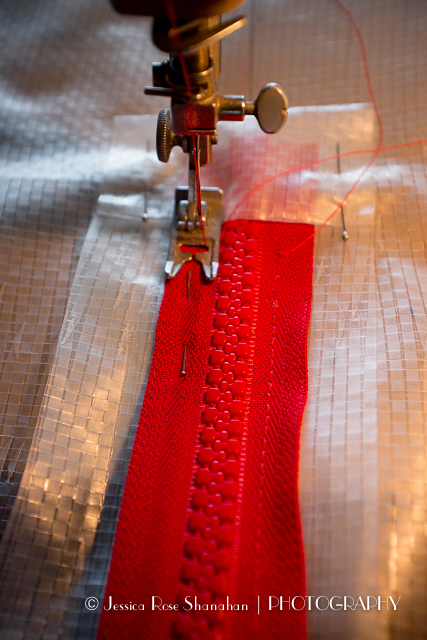
sewing the zipper; fabric uncut
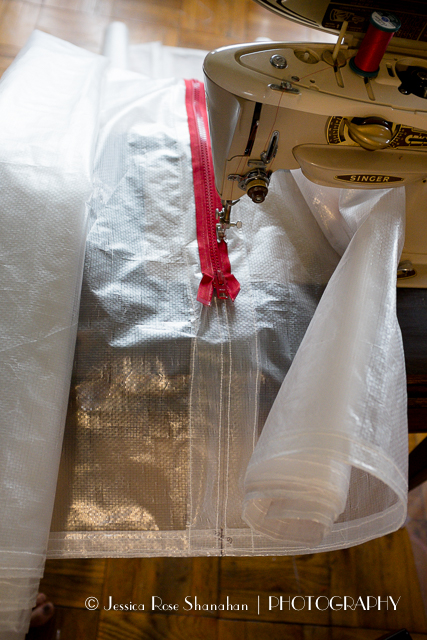
fabric needs to be cut to sew around the zipper pull
the entire length of fabric rolled tightly to fit under my sewing machine
8) SEW VENTS ON THE END CAPS
I put vents on the end caps because I hear they’re a good idea in hot weather and because I wanted to use some plastic snaps. I cut open a flap, cut a rectangle that was 1″ larger than the flap on all sides, and sewed the rectangle to the flap so that there was some overlap for snapping. I reinforced all the places where I wanted snaps and added a strap so that I can roll the vent up and snap it open. Which is the whole point of having a vent, other than using some snaps.
open vent
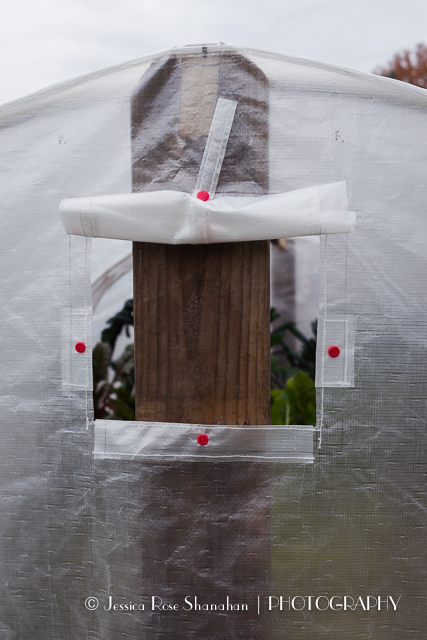
…oops! It’s right over the frame!
19) INSTALL THE GROMMETS
Install the grommets through the hem. Place grommets on either side of the base of each zipper. Space them evenly throughout the rest of the hem. On store-bought tarps, the grommets are one every two feet, so I used that as my maximum spacing. Don’t place them too close to where you’ll be sewing your seams. You can easily add more grommets later if you want, tho. (see photo step 6)
10) SEW THE END CAPS TO THE MAIN BODY; TEST THE SIZE; TAKE IN
Easier said than done. If you haven’t used a fabric handler yet, you’ll need one here. This is a large curve on an unwieldy amount of fabric. Sew both ends using a ¼” seam allowance, then go out side and try the cover on your hoops. Wow! That looks great! Figure how much fabric you can take in. I folded my seams over just another ¼” and sewed a 2nd time. And it was done!
hey! that looks good!
11) ATTACH THE COVER TO THE RAISED BED
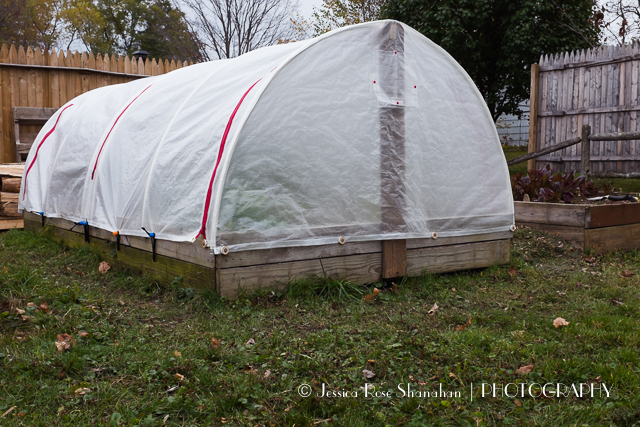
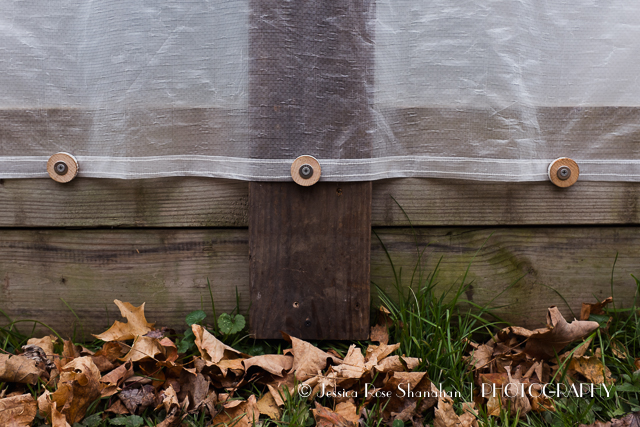
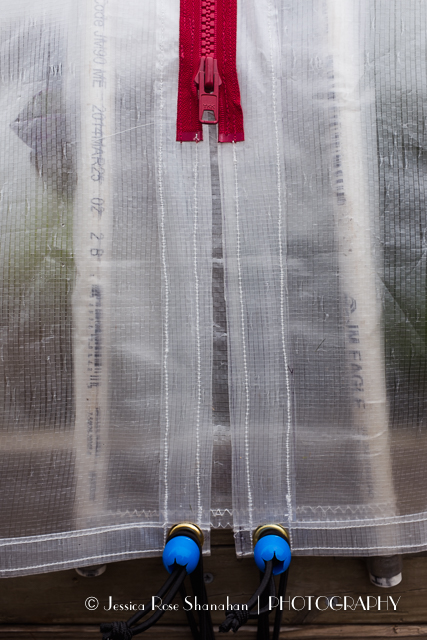
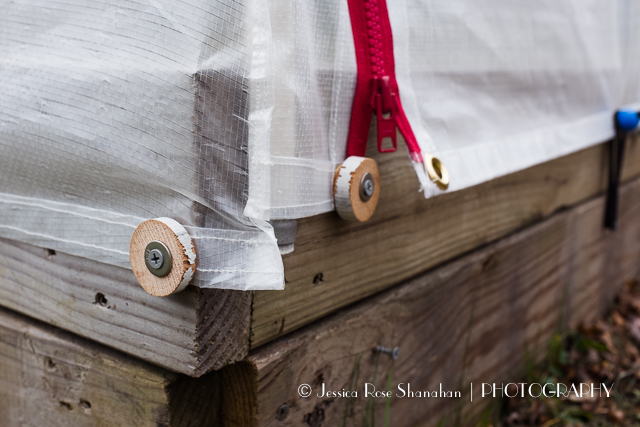
After all that work, you don’t want it to blow away. We used screws to attach the ends and bungee cords looped around screws to tie down the center.
ends screwed on with wooden & metal washers
bungees around center zipper
detail of sloppy corner
FUNCTIONAL!!!